A Comprehensive Guide to Implementing Apple Pay in Your Website
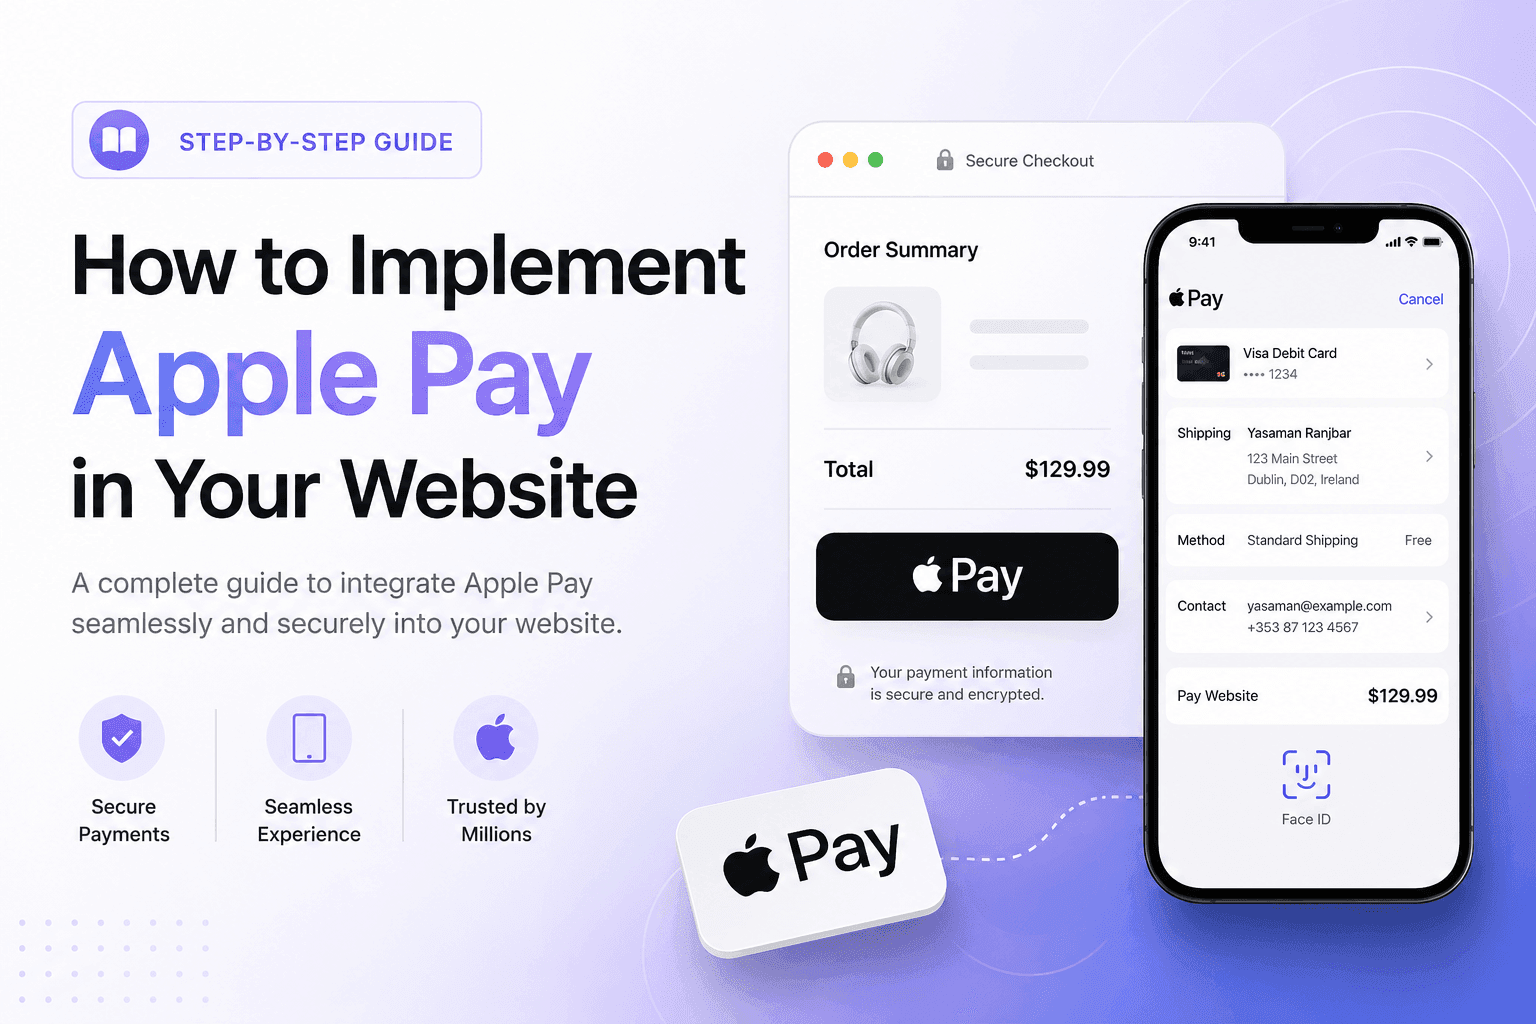
The story started when my client brought up a crucial new requirement: "Most of our website's users are on macOS, and paying with Apple Pay would be much more convenient for them." It was predicted that adding this payment gateway would significantly increase the site's conversion rate and overall sales. This request was the starting point of my adventure in implementing Apple Pay—a path I thought would be straightforward, but one that presented some surprising challenges.
In this post, I want to share this entire journey with you, from the obstacles I faced to the solutions I found, so that if you ever encounter this requirement in your projects, you can tackle it without wasting any time.
But before diving into the technical details, let's do a quick review.
What is Apple Pay?
Apple Pay is a mobile payment service and digital wallet provided by Apple. It allows users to securely store their credit card information on their Apple devices (iPhone, Apple Watch, iPad, and Mac). During checkout, instead of manually entering bank card details, the user simply confirms the payment in a fraction of a second using Touch ID (fingerprint) or Face ID (facial recognition). In this process, the actual card number is never shared with the merchant, ensuring an extremely high level of security.
Why Use Apple Pay?
There are two main reasons to use this gateway:
Outstanding User Experience (UX): Filling out long payment forms is one of the primary reasons for cart abandonment. Apple Pay reduces this entire process to a single click.
Security and Trust: Thanks to its tokenization system and the fact that actual card numbers are not stored in your site's database, users feel much safer making a purchase.
Where is Apple Pay Used?
In addition to physical point-of-sale (NFC) terminals in stores, Apple Pay is heavily used in two digital platforms:
iOS Applications: For In-App Purchases.
Websites (Web): Users accessing your site via the Safari browser (on a Mac or iPhone) can make payments directly through the web using Apple Pay.
The Journey Begins: A Developer's Challenges
Challenge 1: The Windows OS Trap!
My first step was to visit the Apple Developer website to review the official APIs. I intended to implement this task natively, without any additional libraries. After digging through the documentation and writing the initial code, I realized none of it was working!
The reason was simple but critical: I was working on Windows. To develop and test Apple Pay on the web, you need the Safari browser and a macOS environment. I realized this only after a lot of trial and error. So, after getting my hands on a MacBook, I tested the Apple Developer code again. However, the raw, direct implementation path still had too many complexities and wasn't yielding the desired results.
Challenge 2: Pivoting to Tap Payment and the Power of Support
I decided to change my strategy and use a third-party provider. I chose the Tap Payment library. To know exactly what path to take, we set up an online meeting with Tap's technical team.
A Golden Tip: If you ever run into issues using a library, package, or payment gateway, don't hesitate to contact the company directly. There are no limitations! Throughout my implementation process, I constantly emailed them with my questions. They carefully reviewed the issues and guided me throuTo use Tap Payment's SDK, we needed to set up some sensitive environment variables. Tap provided the following credentials, which had to be configured depending on whether I was in a Sandbox (test) or Production environment:
Merchant IDPublic KeySecurity Key
The code snippet I used to configure and display the Apple Pay button via the Tap SDK looked something like this:
JavaScript
// Initialize Tap SDK using your Public Key
const tap = Tapjsli('YOUR_PUBLIC_KEY');

// Apple Pay button configuration and payment details
const applePayConfig = {
  container: '#apple-pay-button-container', // ID of the element where the button will be rendered
  merchantId: 'YOUR_MERCHANT_ID',
  currencyCode: 'USD',
  amount: 150.00,
  countryCode: 'US',
  paymentItems: [
    {
      label: 'Your Product Name',
      amount: 150.00
    }
  ],
  // This function is called if the token is successfully generated
  onSuccess: function (token) {
    console.log('Payment Token:', token);
    // Send the token to the backend for final verification and deduction
  },
  onError: function (error) {
    console.error('Apple Pay Error:', error);
  }
};

// Render the button on the page
tap.applePay(applePayConfig);
After running this code, the beautiful Apple Pay button finally appeared on the website! But when I clicked it, I encountered an error because one crucial step was still missing.
Challenge 3: Domain Verification
Before Apple allows its payment gateway to work on your site, you have to prove that you own the domain. Apple provides a file named apple-developer-merchantid-domain-association that you must upload to the root of your project. Since modern projects have their own specific structures (like Next.js frameworks, for example), this file needed to be placed in this exact path:
Plaintext
public/
└── .well-known/
    └── apple-developer-merchantid-domain-association
After placing the file and deploying the project, Apple checks the following URL on your site: [https://yourdomain.com/.well-known/apple-developer-merchantid-domain-association](https://yourdomain.com/.well-known/apple-developer-merchantid-domain-association) Once Apple successfully reads this file, your domain ownership is verified.
Challenge 4: The Final Boss, Testing from Iran!
After verifying the domain, clicking the payment button successfully brought up the Apple Payment Sheet. The amount and currency I had set in the Tap SDK were displayed correctly. But... I was located in Iran!
To finalize the test and ensure that the money was actually deducted from an account and the token was sent correctly to the server, I needed an international bank card, which I didn't have. Ultimately, I had to procure a virtual international bank card. I linked this card to my Apple ID, and finally... the payment went through successfully!
Conclusion
Implementing Apple Pay might seem like just reading a few lines of documentation at first glance, but dealing with hardware prerequisites (macOS), third-party SDK configurations, domain verification challenges, and most importantly, testing limitations in Iran, turned it into a challenging yet rewarding experience. I hope this article helps you navigate the Apple Pay implementation process faster and with fewer errors in your future projects.